Flight log
Hour 9: Circuits, repeat 2
Becoming competent in flying near an airport is a core learning objective of the RPL syllabus. I had my first circuits session last week and will continue this week.
In today's Hour 9 exercises, I repeat the circuit six times and practice all of the relevant procedures. This includes touch-and-goes, ascending, descending, level and descending turns, and checklists.
The turbulence increases the level of difficulty by a notch.
Watch and listen to the complete video and audio from the flight. The Go Pro overheated and stopped the recording towards the end of the session. From there on there is audio only. Use the chapters in the YouTube video to jump to a specific time.
My ninth hour of training was my second session doing circuits. Bob could not instruct me on the day, so Davide kindly took the lead. Davide is a full-time instructor at Flight school, and I first met him in the January flight camp, so the introductions were brief.
We sat down for a briefing in which Davide gave me a revision of the circuits exercise. This revision allowed me to remember all the small yet essential details, such as the airspeed for the various parts of the flight, radio calls, landmarks for turning, checklists, and much more. If you haven't read my Hour 8 log, please have a look, as I provide many details about the elements of the circuits exercise.
During the briefing, I felt that I had a good grasp of the "theory": what a circuit is, its components, and what I should get the plane to do at each part of the circuit. But of course, more is needed. In today's practice, I would improve my skills in controlling the plane operating inside the airport circuit..
From my experience in the last two flights, I knew I was borderline competent in controlling the plane during individual maneuvers (like ascent or descent to a specific altitude, hold, and level turns). But in the circuit, the pilot must do everything (plus more) quickly and accurately. It is imperative to execute these tasks rapidly and accurately because it takes several hours of practice to become competent in circuits.
If you are curious, look at the CASA syllabus PDF document. This document (copied from the introduction):
"The Day VFR Syllabus specifies the progressive flying and aeronautical knowledge training requirements relevant to the Student Pilot Licence (SPL), the Private Pilot (Aeroplane) Licence (PPLA), and the Commercial Pilot (Aeroplane) Licence (CPLA) for aeroplanes".
Element A3.6 refers to circuits and approaches. If you are even more curious, check out the sample syllabus that CASA provides to flight schools. One of the documents in this ZIP archive covers all the skills a student must acquire during the circuits introduction lessons. Of course, there's much more to circuits, such as flap-less and missed approaches, emergencies, and pre-solo circuits. These are some of the lessons I am looking forward to 🙂
My circuits notes
I made a list of actions I must execute during the circuit. The details came from my memory, watching my recording (see video at the start of this log), the debrief, and various books. Please let me know if you find an error via the chat tool below the article.
In the circuit, the pilot has to (each of the bullets below is a task that lasts between 5 and 30 seconds):
- Take off and ascent. Ensure pressure and temperatures are correct and airspeed is alive (300 ft checks).
- Control the ascent by staying on the centerline, and maintain the best rate of climb by maintaining the correct airspeed (~72 kt; see manual page 4-3).
- Look for the landmark that marks the left turn to the crosswind leg.
- Check for traffic (right, center, left) and execute an ascending 15° turn to crosswind.
- Try to reach the circuit altitude of 1,000 ft AGL (around 1450 ft at Camden) before the next left turn to downwind.
- Anticipate the arrival to circuit altitude, level off with the correct attitude, reduce RPMs, and prepare for the left turn to downwind.
- While maintaining altitude, look for the left turn landmark (the river's bend), check for traffic (right, center, left) and execute a 30° left level turn to the downwind leg.
- Do the H.H.S.S. checks at the start of the downwind (Heading, Height, Spacing, Speed). Maintain speed around 100 kt.
- Call the Camden Tower (ATC) to let them know if you are going for touch and go or full stop.
- Around halfway in downwind, do the B.U.M.I.S.H. checks. (Breaks, Undercarriage, Mix, Instruments, Switches, Harnesses).
- Start reducing speed to below 110 kt, and add 10° flap once there. Do this by lowering RPMs to around 1800.
- When airspeed is in the white, add 20° flaps.
- Reduce speed to ~70-75 kt.
- Anticipate the turn to base by looking for a landmark (a radio tower, in my case). Maintain altitude and heading.
- Start the 30° left descending turn to base. Do this by reducing RPMs further, as needed.
- Look at the runway and assess altitude. Am I too high, too low, or about right?
- Use attitude and RPMs to adjust altitude, and anticipate the last 30° left turn to final. Again, use attitude and RPM to control vertical speed and airspeed.
- When around 400 ft, set 30° flap to slow further.
- If the approach is stable, you are still on the centerline, and at the right altitude, proceed; otherwise, go around.
- Once over the threshold, reduce power to idle and slowly apply back pressure on the yoke to keep the nose up and allow a slow descent until the rear wheels touch down.
- Once the rear wheels touch down, keep the back pressure to reduce the force on the front wheel.
- If doing a touch-and-go, ensure the plane is stable on the centerline, remove the flap, apply full power, and take off.
There is a lot of work to do.
Pre-flight briefing
In the briefing before the flight, Davide ensured I remembered and understood the basics and reassured me that I would concentrate on the plane operations. He would do the radio calls and the checks.
We used my radio to check ATIS for the latest information on current conditions.
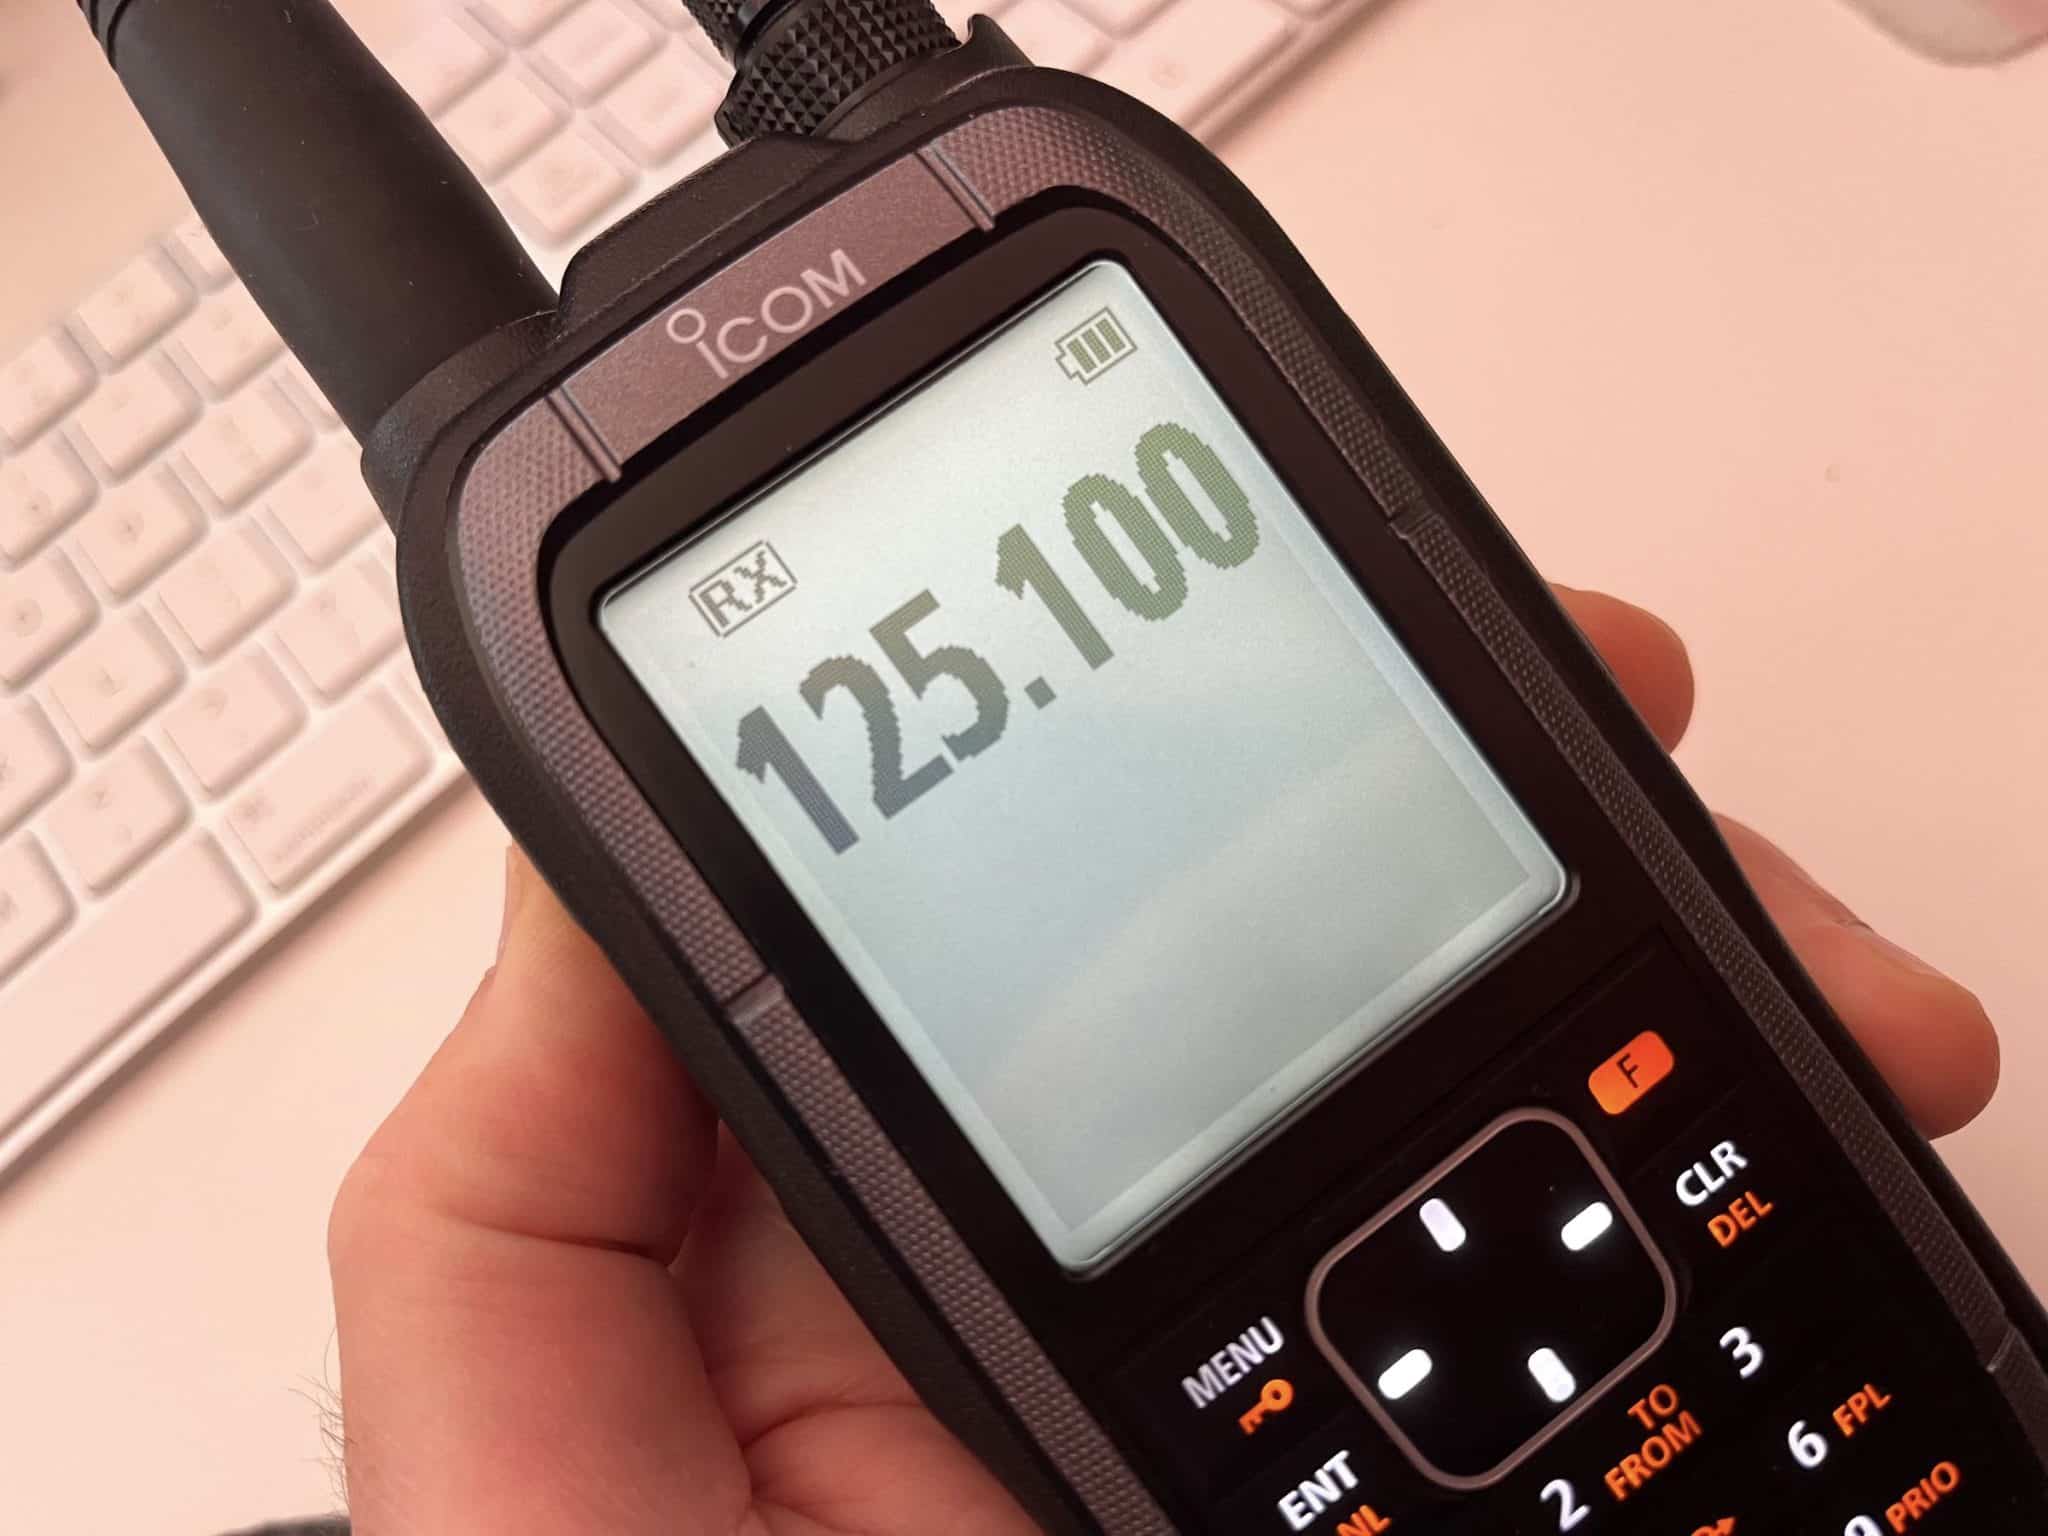
Checking ATIS during the flight briefing.
There was a lot of hazard reduction burning in Sydney in the last few days, and that caused a smoke haze that might make it difficult for us to see distant landmarks. These landmarks (such as mountain peaks) ensure correct heading. If the smoke haze made it impossible to use the mountains, we could use nearby landmarks such as antennas, roads or residential neighbourhoods, along with the compass, to keep the correct heading.
The ATIS report also mentioned variable winds and five kts, meaning that wind could come from any direction at any time. These conditions are challenging for students because they make every circuit different from the previous one. I haven't yet trained in dealing with winds stronger than three or four knots, so we'd have to be ready for turbulence, especially during the final approach and landing.
Briefing done; let's fly.
My in-flight cheat-sheet
From my first circuits session, I realized there's much to learn. As an experienced student, I decided to compile a cheat sheet. I won't have time to consult it during the circuit, but it would be helpful for radio calls. Also, creating this cheat sheet would help me learn and memorize at least part of it.
You can see my cheat sheet, version 1, below. I'll work on version 2 before the next flight. I'll simplify the radio calls box, remove the aerodrome chart (I remember this now) and put more useful numbers in the speeds and altitudes box.
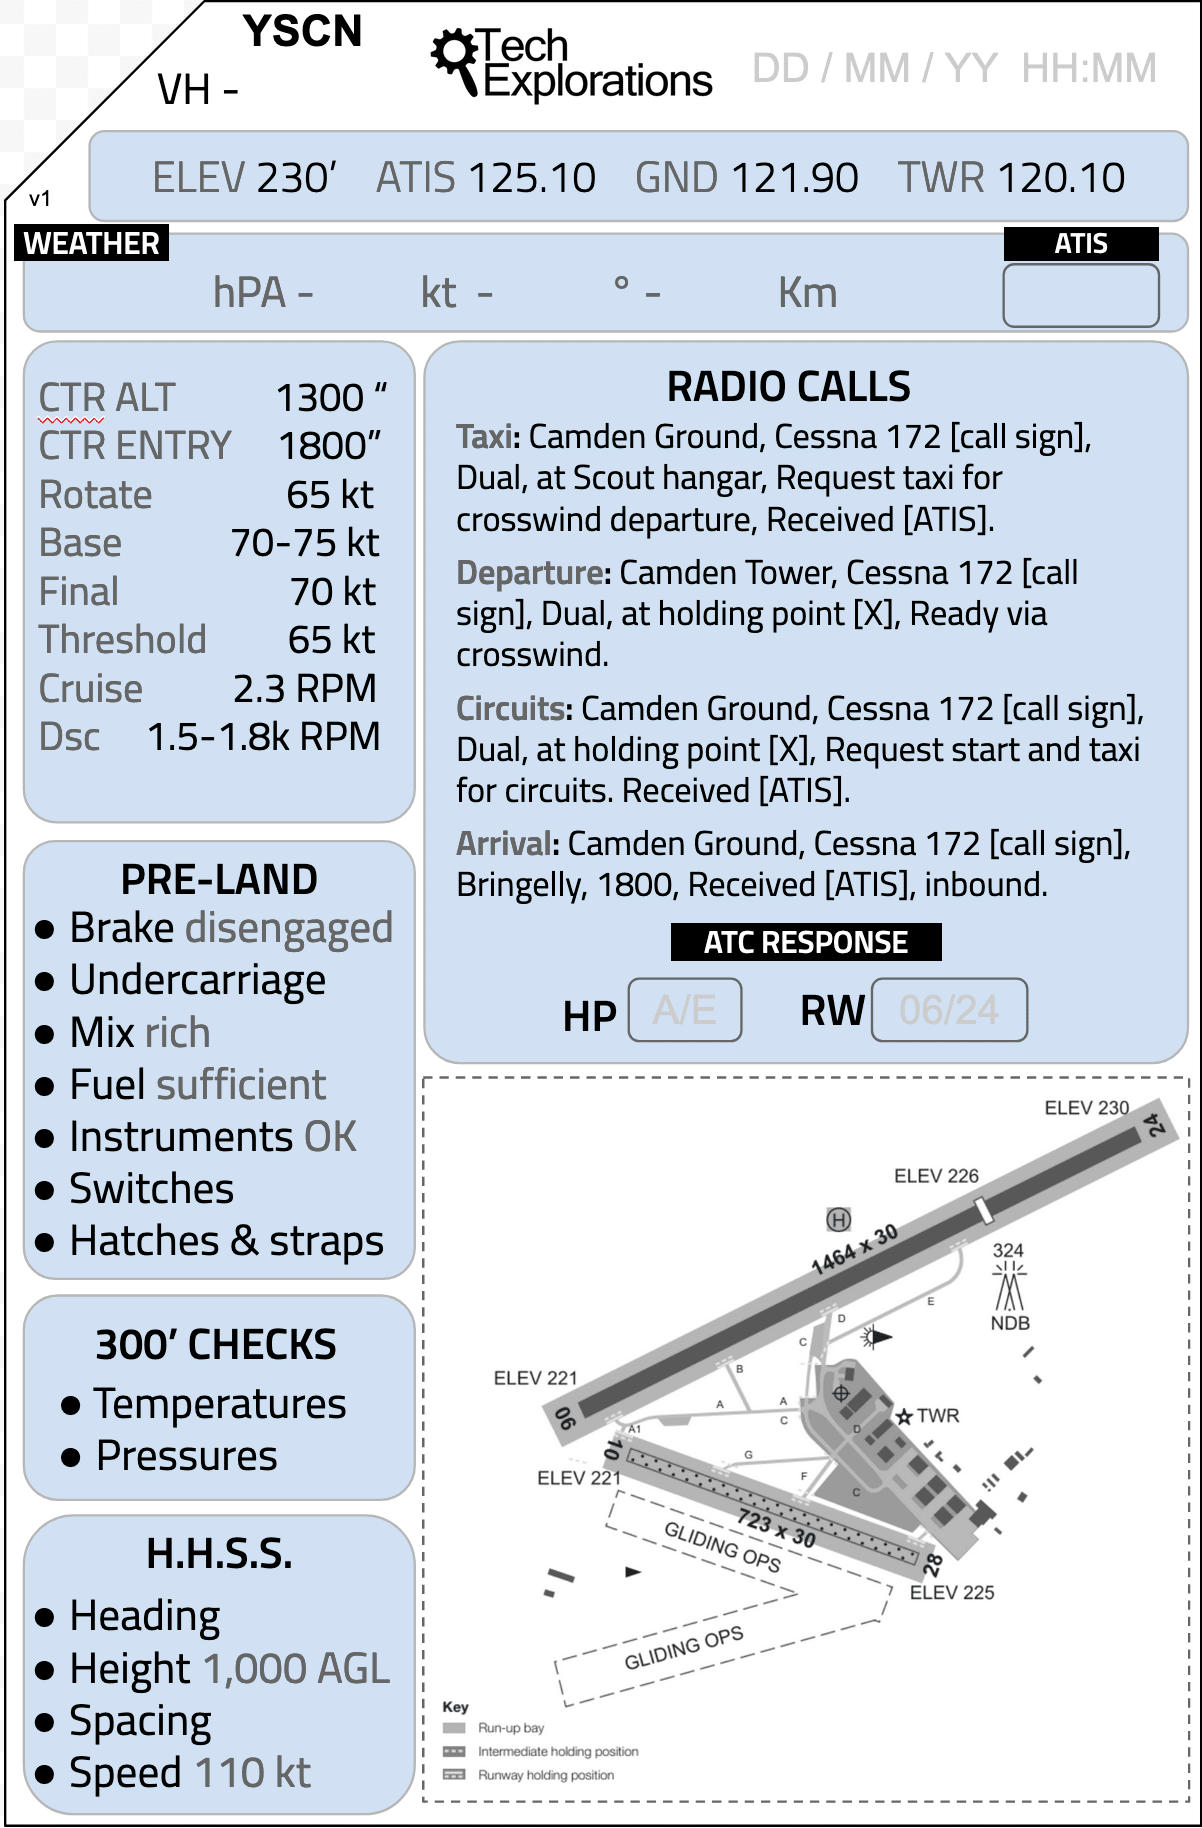
My flight cheat-sheet v1. This helped me remember radio calls and checks. I found a few errors and issues to improve, so in the next flight I will use version 2.
The flight
By the time we got to VH-JBC, the wind had picked up a little. The good news is that the smoke haze had cleared significantly, and it would be possible to see the distant mountain peaks and landmarks. The bad news was that it would make the flight bumpy, and if it were too rough, we would have to cancel the afternoon flight.
So we wanted to make this flight as best as possible. I took the lead to do the pre-flight checks. I walked around and checked all surfaces on the fuselage and wings, ailerons, elevators and rudder from free movement, flaps for no movement, the pitot tube and static vent, wheels, breaks, engine, and prop. I also checked the fuel quantity in both tanks and took samples from all sample points. We had plenty of fuel onboard, so we didn't need to refuel. All pre-flight inspection points are in the Cessna 172S manual (go to page 4-4).
After the external pre-flight checks, we got in the cockpit and completed the cabin pre-flight checks. I started the normal engine start checklist, and before actually starting the engine, I requested permission for engine start and circuits from Camden Ground:
Camden Ground, Cessna 172 Julia Bravo Charlie, Dual, at the Scouts Hangar, Request start and taxi for circuits. Received Delta.
ATC approved, so I started the engine and continued with the after-engine checks. All good, so we taxied to the run-up bay (while doing the taxi checks) and completed the Engine Run-Up checks.
Davide also introduced me to a new technique, the "flow check". In a flow check, the pilot works around the instrument panel to ensure the plane is properly configured. Over time, pilots will develop their version of this check. David's version is:
- Trim set to take off.
- Throttle to 1,000 RPM.
- Mixture is full rich.
- Flaps are up.
- Than proceed up in the instruments panel.
- Autopilot (unserviceable and not required).
- Radio frequencies are set and active set to Tower.
- GPS is set.
- QNH set correctly.
- Artificial horizon set correctly.
- Airspeed indicator is OK.
- Voltmeter OK, showing 28 Volts.
- Turn coordinator wings are level.
- Confirm Direction Indicator (DI) is set.
- Heading bug is set of the runway.
- Vertical speed is good.
- RPM is good.
- Lights: strobe, and as required.
- Circuit breakers are good.
- Magnetos set to Both.
- Master switch and avionics are On.
This check is much faster to execute than it seems in this list. I'll do this before my next take-off.
Then, it was time for take-off. The airport wasn't busy, so we got clearance right away. Here's the call:
Camden Tower, Cessna 172 Julia Bravo Charlie, at holding point Alpha, Runway zero six, Ready for circuits.
With QNH at 1027 (the highest I have flown in so far), the plane performed like a pocket rocket in the denser-than-usual air, and we started to climb quickly. I think this was a decent take off by yours truly, which you can see in the video above.
We had almost reached 1,000 ft at the crosswind turn. I did not anticipate correctly reaching circuit altitude (1,300 ft) and overshot it by over 100 ft. Even before finishing the downwind turn, we were at over 1,500 ft. I have to improve this: better use of engine RPM and attitude to control altitude.
Davide made the call to the tower to let them know we were planning to touch and go:
Julia Bravo Charlie, downwind for touch and go.
We were wide in the circuit, so I did a slight left turn to correct. I was also trying to descend to 1,300 ft by reducing RMPs.
Davide did the BUMFISH checks, and it's all good.
At that power setting, airspeed dropped below 110 kt, so I extended 10° of flap. Shortly after, I saw the radio tower (an easy landmark that tells me where to turn), did the lookout, and started a descending turn at 1500 RPM.
As airspeed went in the white arc, I set 20° flap and continued the descent into base. We were still a bit high, so I reduced the throttle to 1,500 RPM and set flap to 30°.
Very quickly, it was time for the final turn into... final.
Approach and landing were OK in keeping the flight path aligned with the runway. I still find it counter-intuitive to pitch down to control the speed at 70 kt (I automatically reach for the throttle, which needs to be corrected)—something more to work on.
The touchdown was also good. I am not sure that this was totally my landing.
I had another few repeats of this exercise.
Davide took control to give me a demonstration. On one occasion, I ballooned the plane just before touchdown because I pulled the yoke back too quickly. This was a hard landing. I'm amazed we didn't lose a wheel or worse.
Debriefing
After the flight, I sat with Davide for the debrief. Davide drew a diagram on his iPad (I have included it on this page; see somewhere in the right column). This is an excellent way to provide feedback by noting the notable moments in the flight and how to improve.
There are so many things to improve! Here's my list for next time (in no specific order):
- Anticipate reaching a target altitude. Adjust attitude and power to ensure I don't overshoot.
- Trim to reduce back pressure and workload.
- Do ASPT faster: Attitude, Speed, Power, Trim.
- Improve spacing; my circuits tend to be wide downwind.
- Start getting BUMFISH and radio calls done.
- Lookouts.
- Improve altitude and speed control on base and final.
- On final, I tend to be high and slow (even <60 kt !).
- On final, pitch down to speed up.
- When flaps are full, remember I have maximum drag. Pitch down to increase airspeed.
I'll concentrate on these items in my next session.
Location briefing
As expected, the weather did not improve. In the last few circuits, there was turbulence. The wind speed and direction the tower gave us were much lower than we experienced in the final approach. We decided not to do the second session, so instead, Davide suggested we do a briefing about reading current weather and forecast reports.
You can get such reports from Air Services Australia (which requires a free account) in Australia. These reports are called "location briefings". A location briefing has a lot of different components and is written in a cryptic, coded way that requires special knowledge and skills to decipher.
Here is what one looks like to Camden:
0330 UTC 16/09/23 AIRSERVICES AUSTRALIA
LOCATION BRIEFING
PREPARED FOR: FUTURESHOCKED
VALID FROM 0330 UTC SEP 16, 2023 TO 1530 UTC SEP 16, 2023
WEATHER INFORMATION
-------------------
CAMDEN (YSCN)
TAF YSCN 152316Z 1600/1612
31010KT CAVOK
FM160900 VRB04KT CAVOK
RMK
T 25 31 31 22 Q 1022 1019 1018 1020
METAR YSCN 160300Z AUTO 34014KT 9999 // NCD 33/02 Q1018 RMK
RF00.0/000.0
There's is also a NOTAM part:
NOTAM INFORMATION
-----------------
CAMDEN (YSCN)
C59/23 REVIEW C57/23
OBST LGT ON COMMS TOWER 472FT AMSL U/S
BRG 268 MAG 3090M FM ARP
FROM 09 110445 TO 12 110700 EST
C58/23 REVIEW C41/23
OBST CRANE 495FT AMSL ERECTED
BRG 185 MAG 2080M FM ARP
FROM 09 110318 TO 12 120700 EST
MON-SAT 2100/0700
C54/23 REVIEW C46/23
FLIGHT PROCEDURES AMD
8. HELICOPTER OPERATIONS
ADD NOTE:
8.5 HELICOPTER ARRIVALS AND DEPARTURES MAY ONLY BE CONDUCTED USING
RWYS GLIDER RWY STRIPS AND DESIGNATED HELICOPTER LANDING SITES.
AMD ENR SUP AUSTRALIA (ERSA)
FROM 08 310651 TO PERM
A lot is going on here. After the briefing, I could understand much of this, or at least know how to decipher the rest. One important thing to remember about this report is that it is a forecast. In contrast, the ATIS is a current weather report.
Here are a few definitions:
ATIS (Automatic Terminal Information Service) is a continuous broadcast of recorded aeronautical information in busy terminal areas. It provides essential details such as current weather, active runways, available approaches, and important NOTAMs (Notices to Airmen). Pilots listen to ATIS before contacting the local control unit to reduce the controllers' workload and relieve frequency congestion.
A Notice to Airmen (NOTAM) is a notice filed with an aviation authority to alert aircraft pilots of potential hazards along a flight route or at a specific location. NOTAMs contain information concerning the establishment, conditions, or changes in any aeronautical facility, service, procedure, or hazard. They are essential for flight operations and are created and transmitted by government agencies and airport operators.
NOTAMs cover various reasons, such as:
- Hazards, including air shows, parachute jumps, and military exercises
- Closed runways or inoperable radio navigational aids
- Temporary flight restrictions for VIP movements
- Notifications concerning snow, ice, and standing water on runways (SNOWTAM)
- Volcanic ash or other dust contamination (ASHTAM).
TAF (Terminal Aerodrome Forecast) is a concise statement of the expected meteorological conditions at an airport during a specified period, usually 24 to 30 hours. TAFs are used by pilots, air traffic controllers, and meteorologists for flight planning and operational purposes. They are typically issued four times a day and provide information on wind speed and direction, visibility, significant weather events, and other factors that could affect flights.
TAFs are complementary to METARs, which report current weather conditions. Both METARs and TAFs are used in VOLMET broadcasts, which are continuous transmissions of meteorological information for aircraft in flight.
METAR (Meteorological Aerodrome Report) is a standardized format for reporting current weather conditions at airports and other aviation facilities. It is predominantly used by pilots and meteorologists for flight planning and weather forecasting. A typical METAR report includes data on temperature, dew point, wind speed and direction, visibility, cloud cover, and barometric pressure. It may also contain information on precipitation amounts, lightning, and other weather phenomena.
METARs are generated at least once an hour, but if conditions change significantly, a special METAR (SPECI) may be issued. Some METARs are encoded by automated airport weather stations, while others are manually observed and encoded by trained weather observers or forecasters.
The METAR format is highly standardized through the International Civil Aviation Organization (ICAO), making it universally understood.
These reports use UTC time zone for times. In Australia, to convert UTC to local time (in my case, AEST (UTC+10)) quickly, Davide explained this brain arithmetic trick:
UTC - 2, and flip AM/PM (to PM/AM).
For example, from the Camden TAF above, "152314Z" means "15th of the month, and 23h and 14m Zulu time". Take the time, and subtract two hours. This gives us 23-2 = 21h. This is 9pm. Change this to 9 AM, and that the local time. So, this TAF was generated on September 15, at 9:14 AM.
Airservices Australia also provides a handy conversion table.
If you want to read and understand TAFs, METARs and NOTAMs, you will need this glossary. For example, CAVOK, (the acronym you want to see all the time in these reports) means "Cloud And Visibility and weather OK". "RMK" means "Remarks", if any are available.
"VRB" means "variable", wind conditions we had today on this flight.
A new habit I will have to develop is to look at the TAF, METAR, and NOTAM reports for YSCN in the morning of my lessons and decipher all the information.
By the way, ChatGPT is very good at deciphering these reports. I asked it this:
Explain the information contained in this TAF in detail. Convert times to UTC+10.
CAMDEN (YSCN)
TAF YSCN 152316Z 1600/1612
31010KT CAVOK
FM160900 VRB04KT CAVOK
RMK
T 25 31 31 22 Q 1022 1019 1018 1020
And ChatGPT responded with this:
TAF for Camden (YSCN) in UTC+10
Header Information
TAF YSCN 152316Z 1600/1612: The TAF report for Camden Airport (YSCN) was issued on the 16th of the month at 09:16 (UTC+10). The forecast is valid from the 16th at 10:00 (UTC+10) to the 16th at 22:00 (UTC+10).
Main Body
31010KT CAVOK: Initially, the wind is forecasted to come from 310 degrees at a speed of 10 knots. "CAVOK" indicates that there are no significant weather events, visibility is good, and there are no clouds below 5,000 feet.
FM160900 VRB04KT CAVOK: A change is forecasted to occur from the 16th at 19:00 (UTC+10). The wind direction will become variable ("VRB") and will decrease to a speed of 4 knots. The "CAVOK" condition remains the same.
Remarks
RMK: Stands for "Remarks." No additional remarks are provided.
Temperature and Pressure
T 25 31 31 22: Forecasted temperatures are 25°C, 31°C, 31°C, and 22°C at different times during the forecast period.
Q 1022 1019 1018 1020: Forecasted QNH values, which are measures of atmospheric pressure at sea level, are 1022, 1019, 1018, and 1020 hPa (hectopascals) at different times during the forecast period.
This response it spot-on, and frighteningly easy to understand. I will resist the temptation to get GPT to translates location reports.
Davide also explained how Area Briefing Reports work. Here is an example (taken from Air Services Australia and compiled by the Bureau of Meteorology):
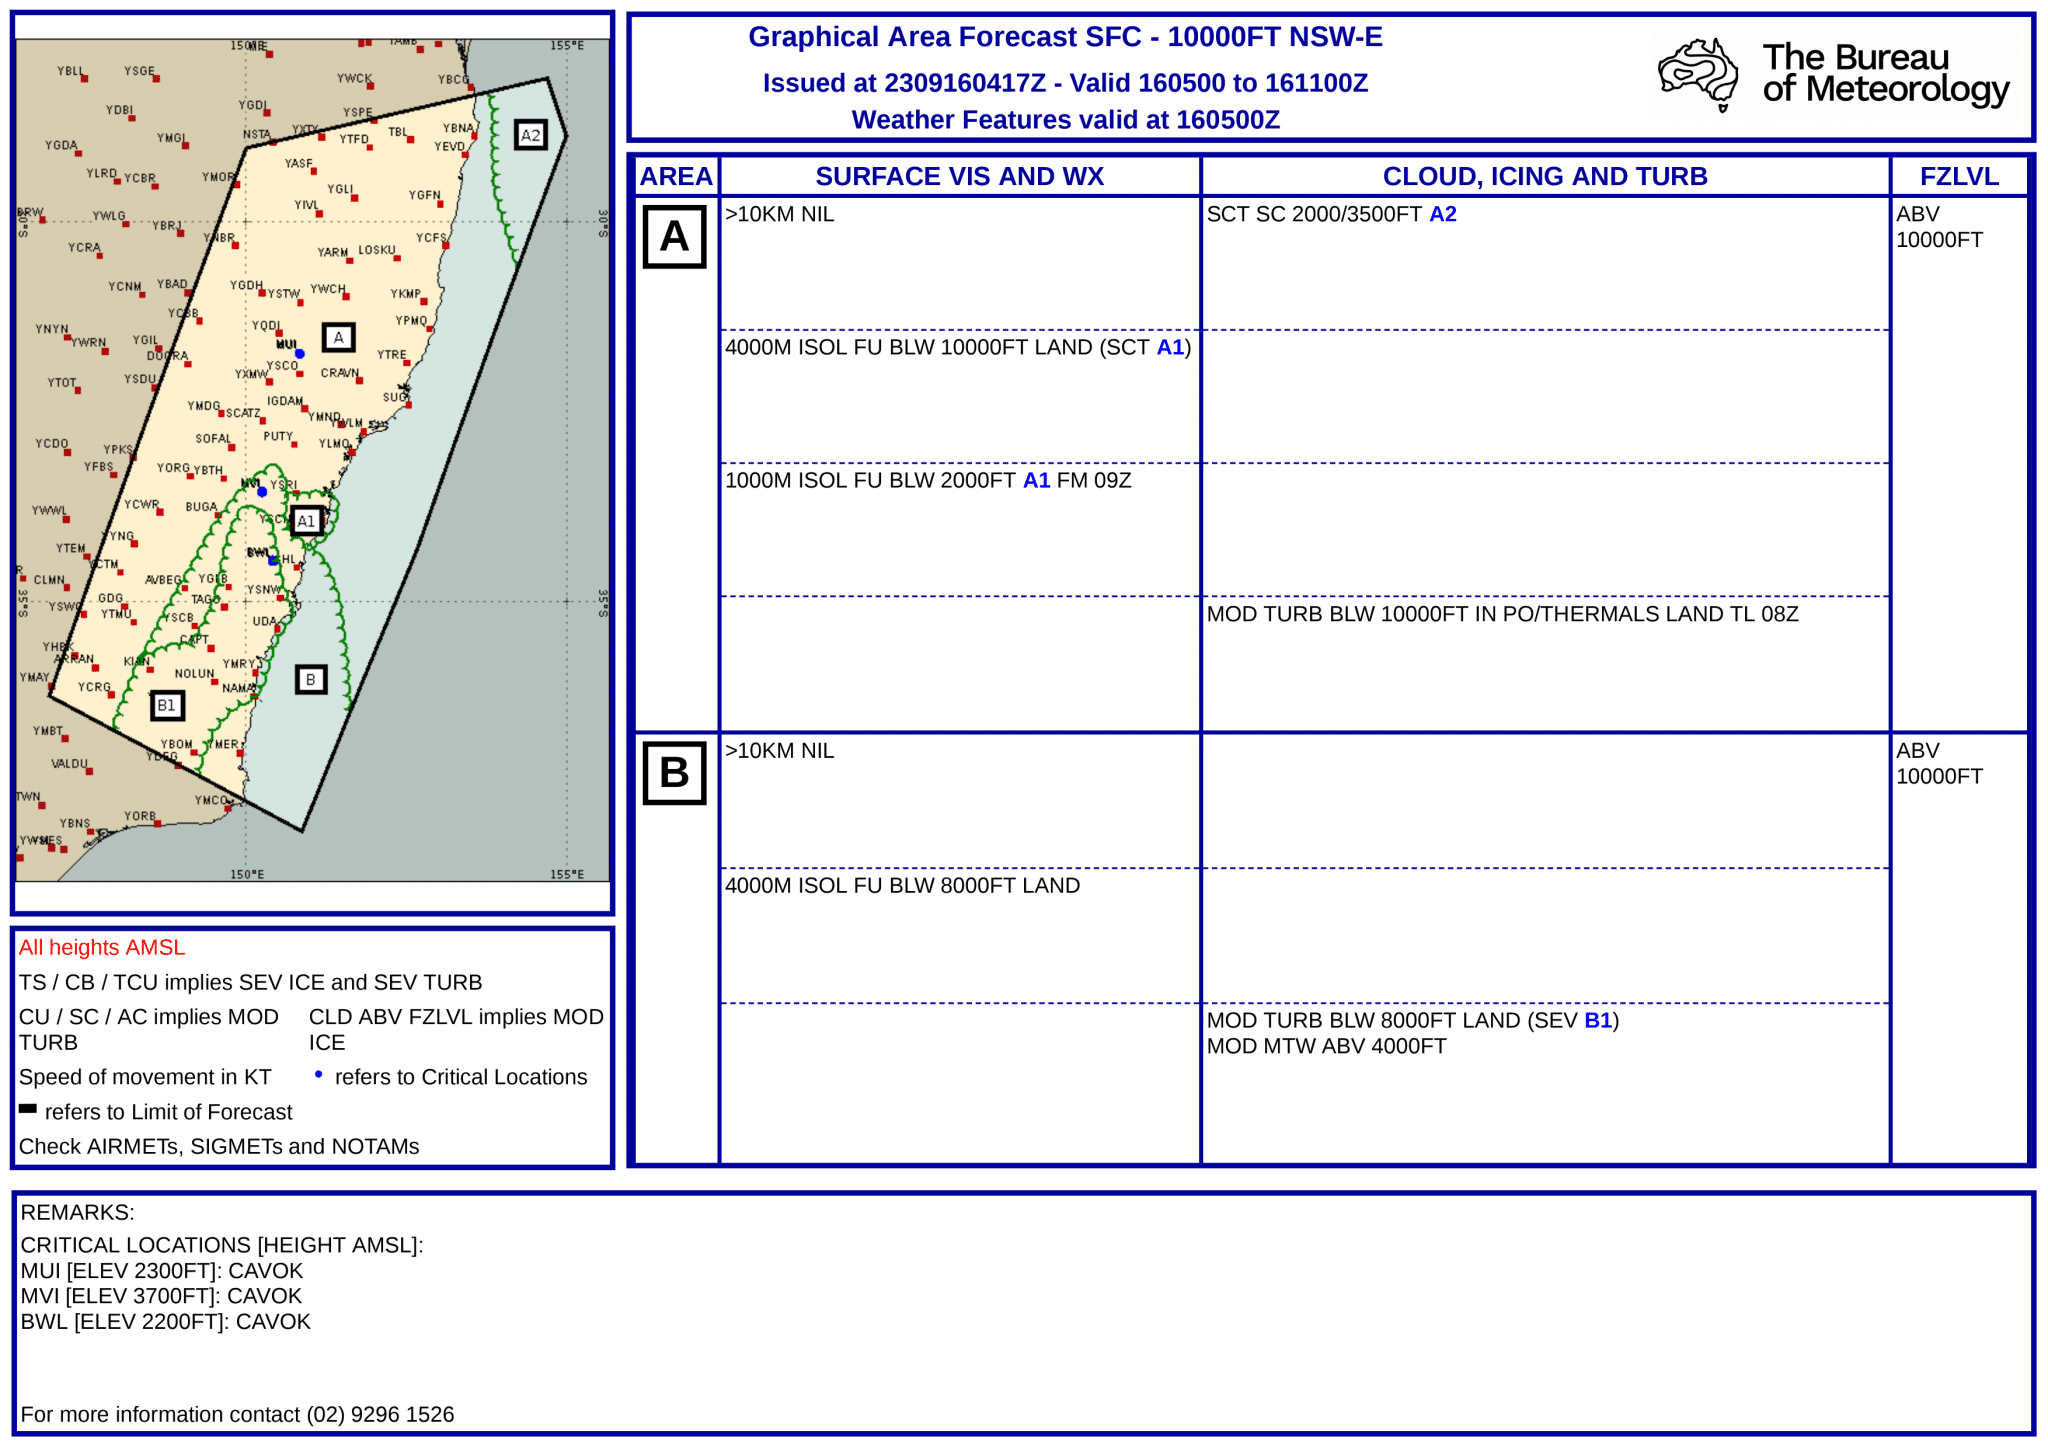
Area Briefing Results For Area 9200
A Graphical Area Forecast (GAF) is a visual representation of aviation weather forecasts over a specific geographical area. It is designed to provide pilots, air traffic controllers, and meteorologists with a comprehensive view of weather conditions that may affect flight operations.
The GAF typically includes information on:
- Cloud cover and type
- Visibility
- Wind speed and direction
- Precipitation
- Icing conditions
- Turbulence
These forecasts are usually updated at regular intervals and are often available through aviation weather services or mobile apps designed for pilots.
Airservices Australia provides these reports in text and a graphical format. These reports provide weather forecast information over a wide area, unlike the TAF, which includes information valid in the vicinity of an airport.
There are GAF reports for different parts of the country. In a GAF, you can see green lines that are boundaries. Within the border, you can expect similar weather, and the weather is described next to the map. I don't have to use GAFs for now since I am only flying around the airport. However, once I get into navigation exercises, which take me more than 10 or 15 NM from the airport, I will need to use GAFs to plan my flights.
I will sign off now and prepare for Hour 10.
Don't miss the next flight log
Leave your email address by clicking on the button below, and I'll let you know as soon as I publish my next flight log. No spam, ever.
Shorter and narrated video. Watch on YouTube to access chapters.
Flightradar24 captures information from the aircraft's transponder and produces this animation. I'll be using this tool to assess the quality of my circuits.
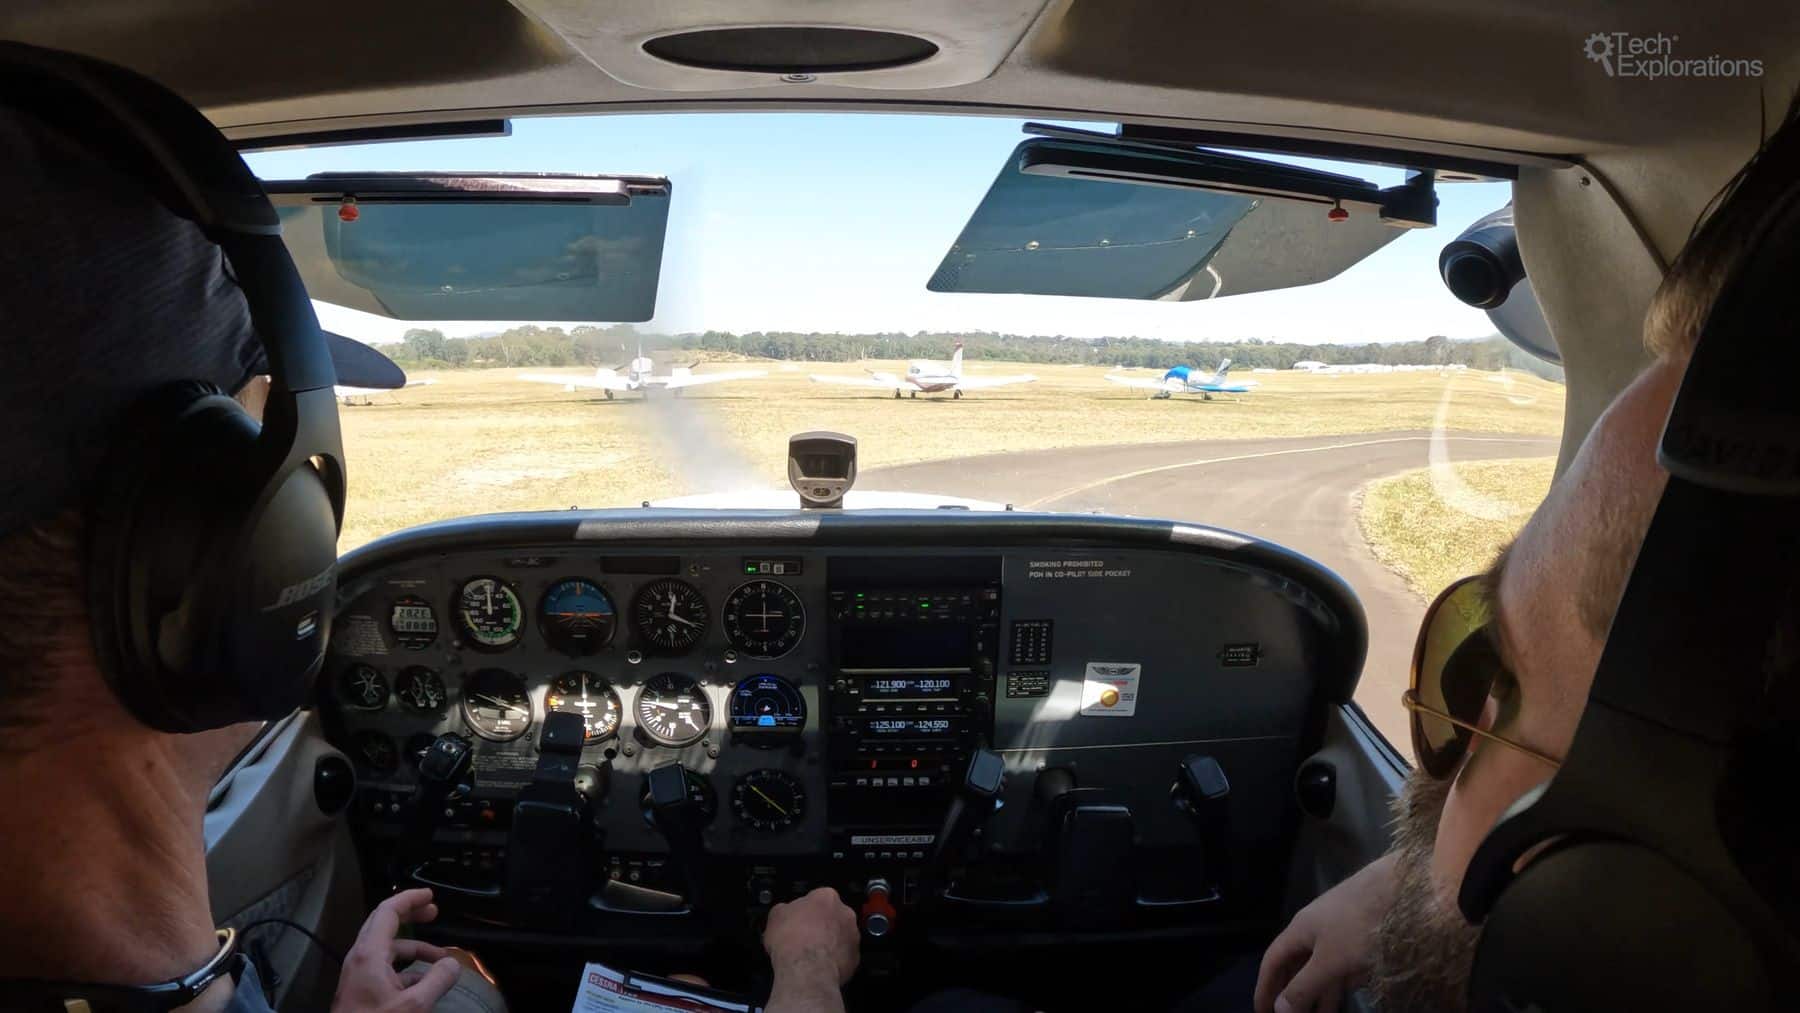
Keeping the center line.
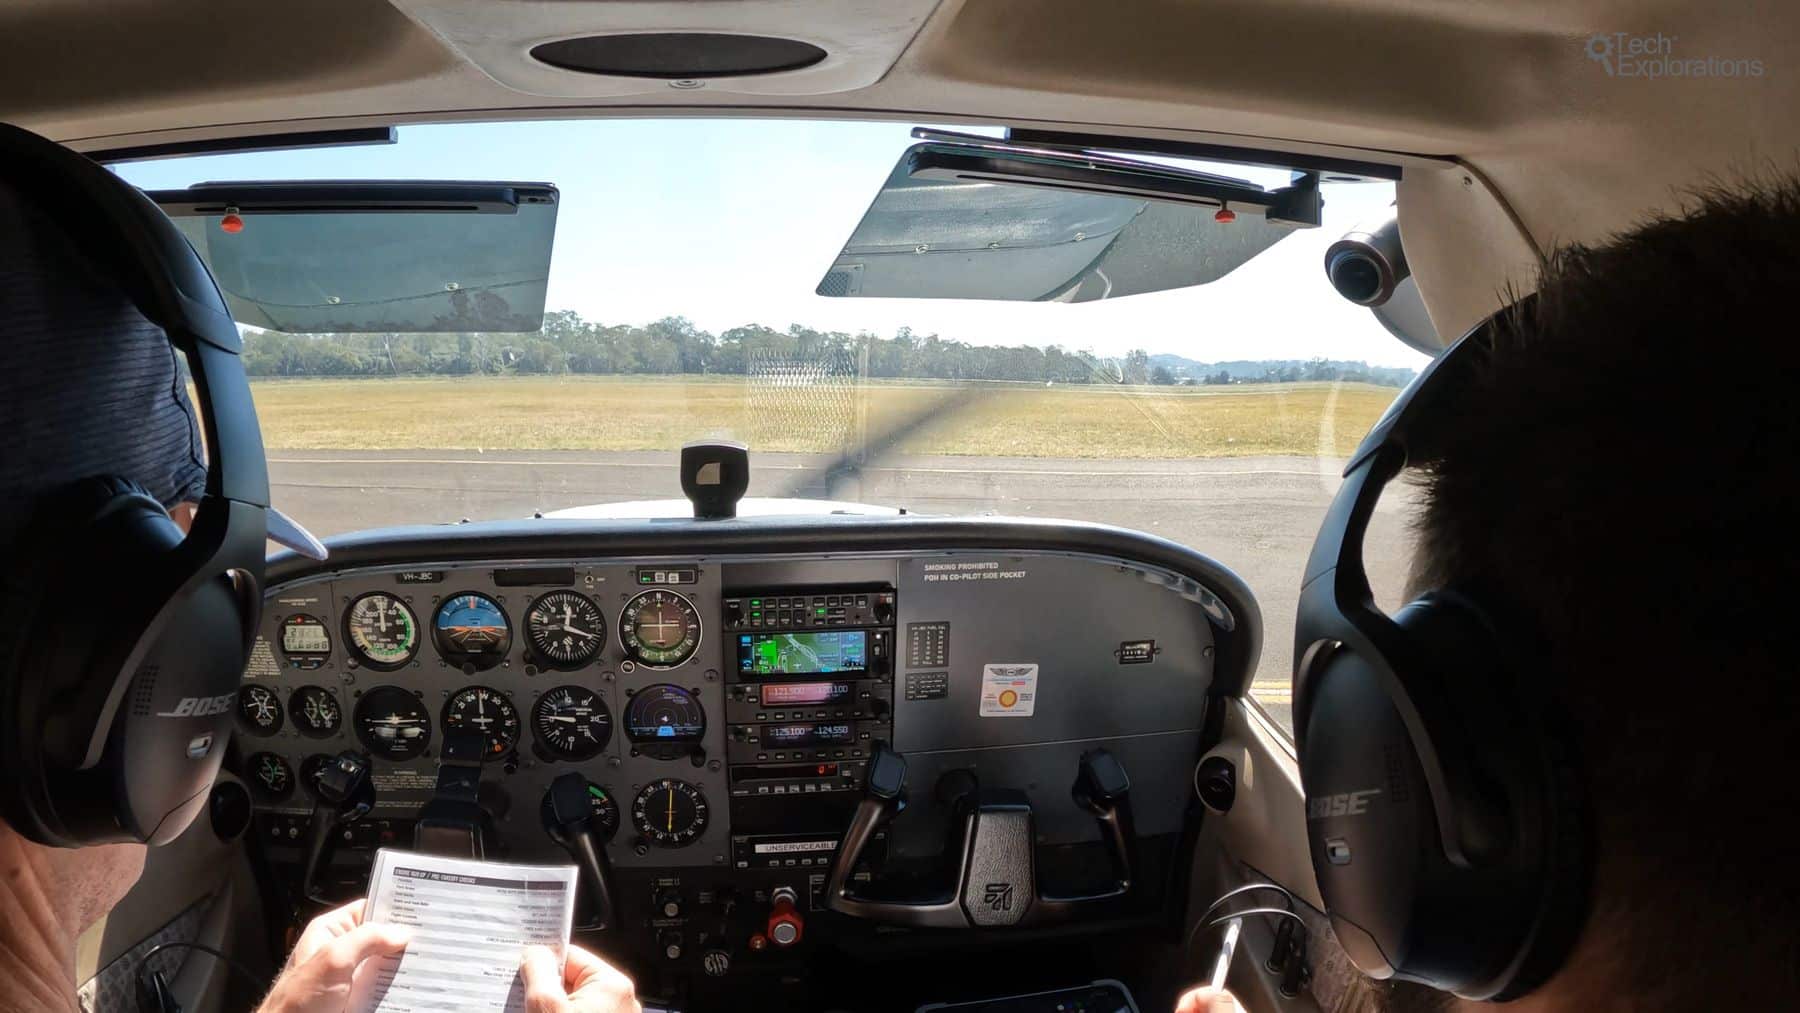
Completing run-up checks.
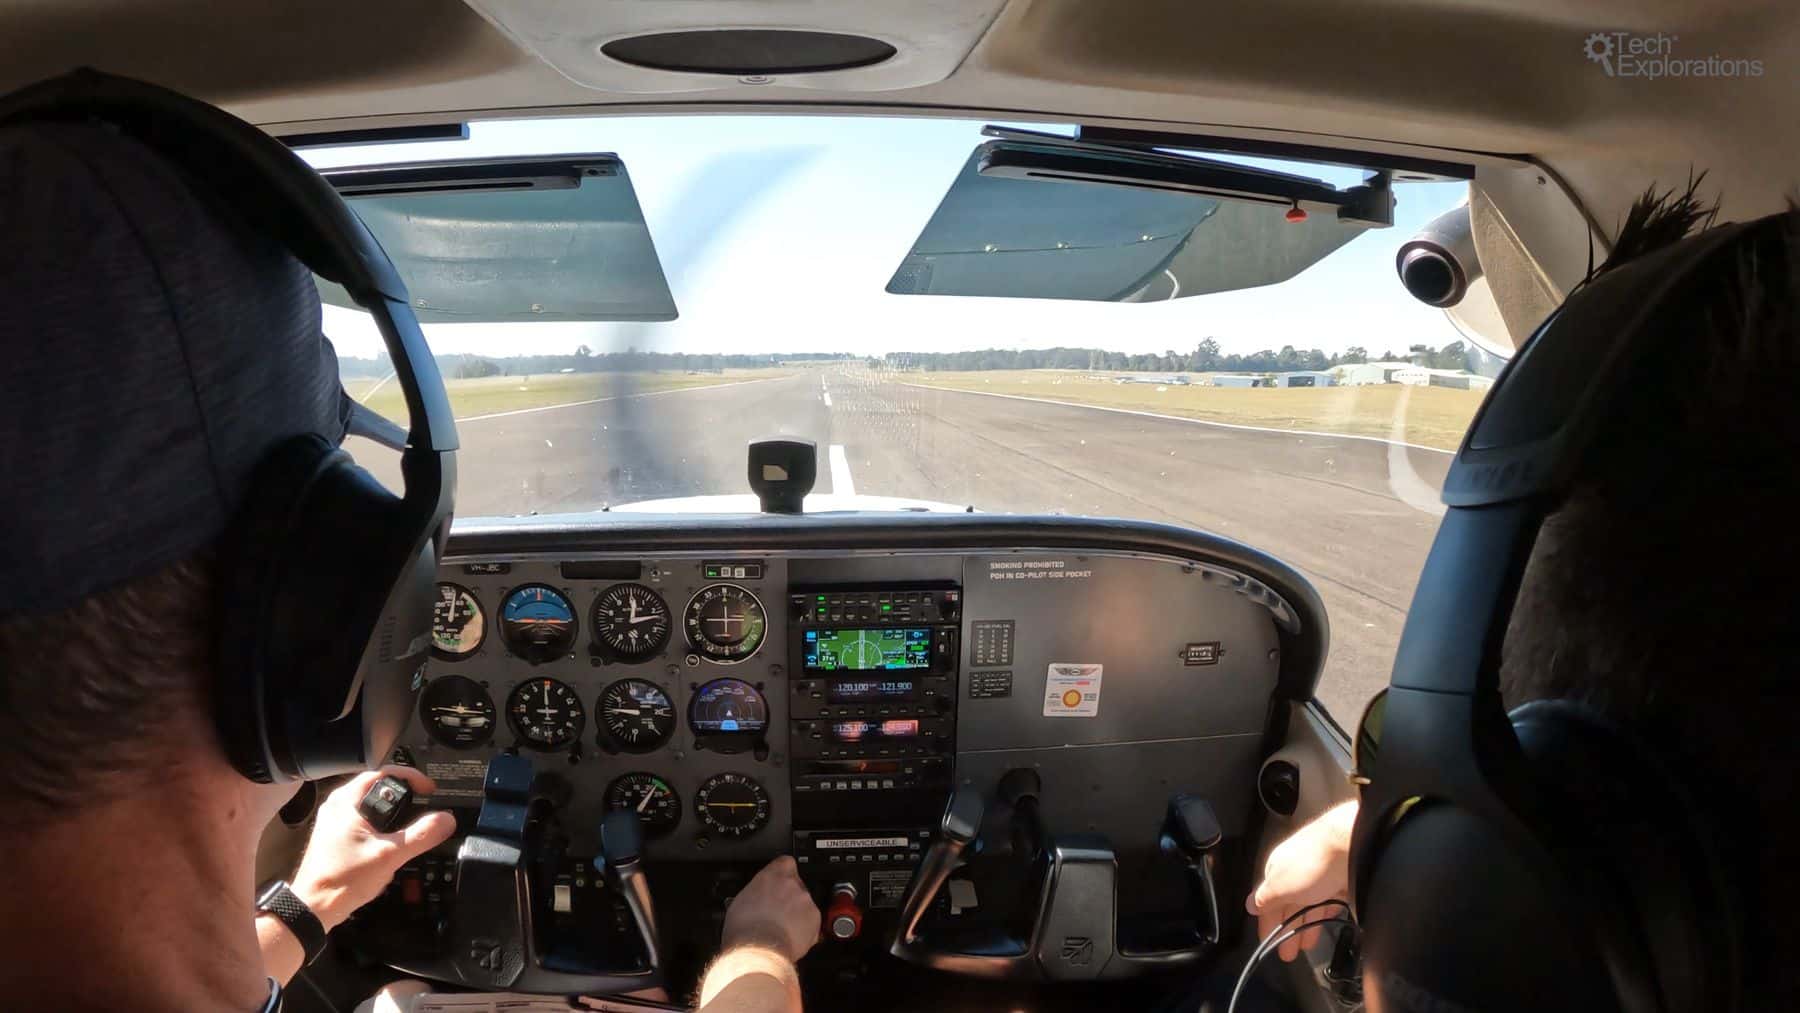
The most exiting part of the flight. Take off!
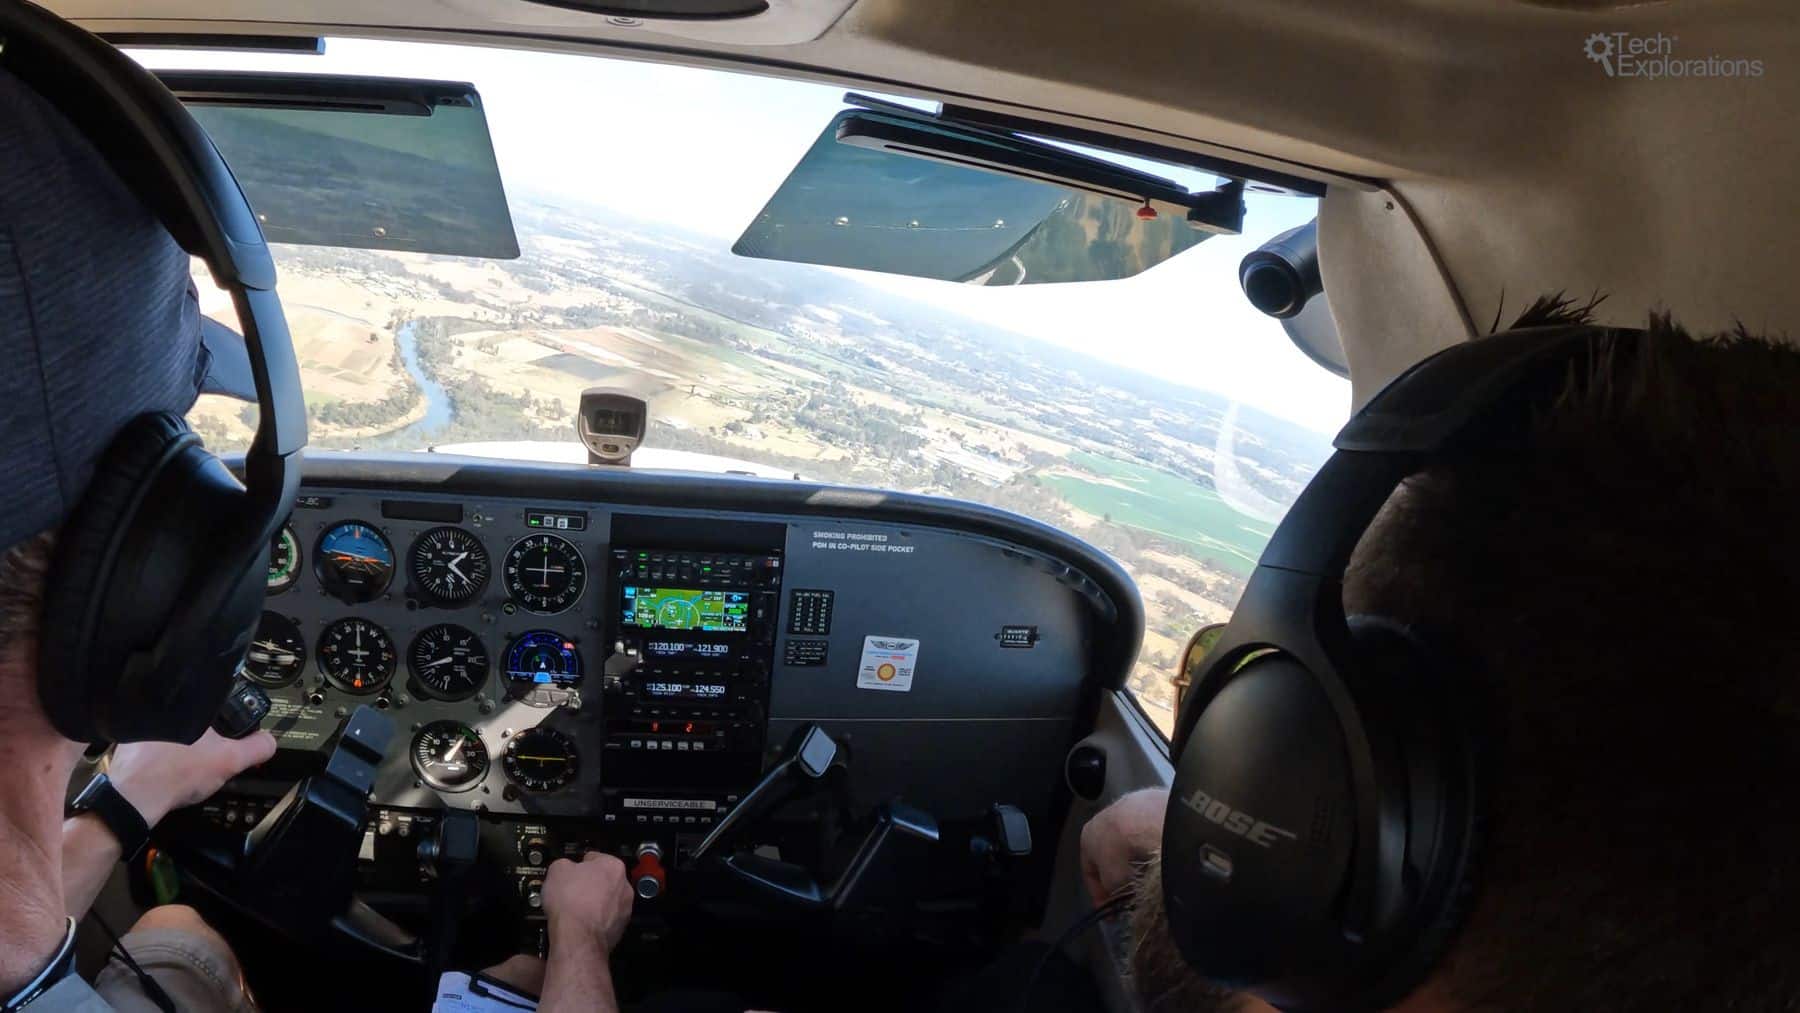
Turning downwind.

Davide helped me get the most out of the debrief with his awesome notes.
